Table of Contents
Open Table of Contents
Introduction
For years I’ve been using oh-my-zsh as my terminal framework for the zsh shell. And to be fair, I enjoyed working with it a lot, but as they used to say: “every journey has its end” (or something along those lines 😅).
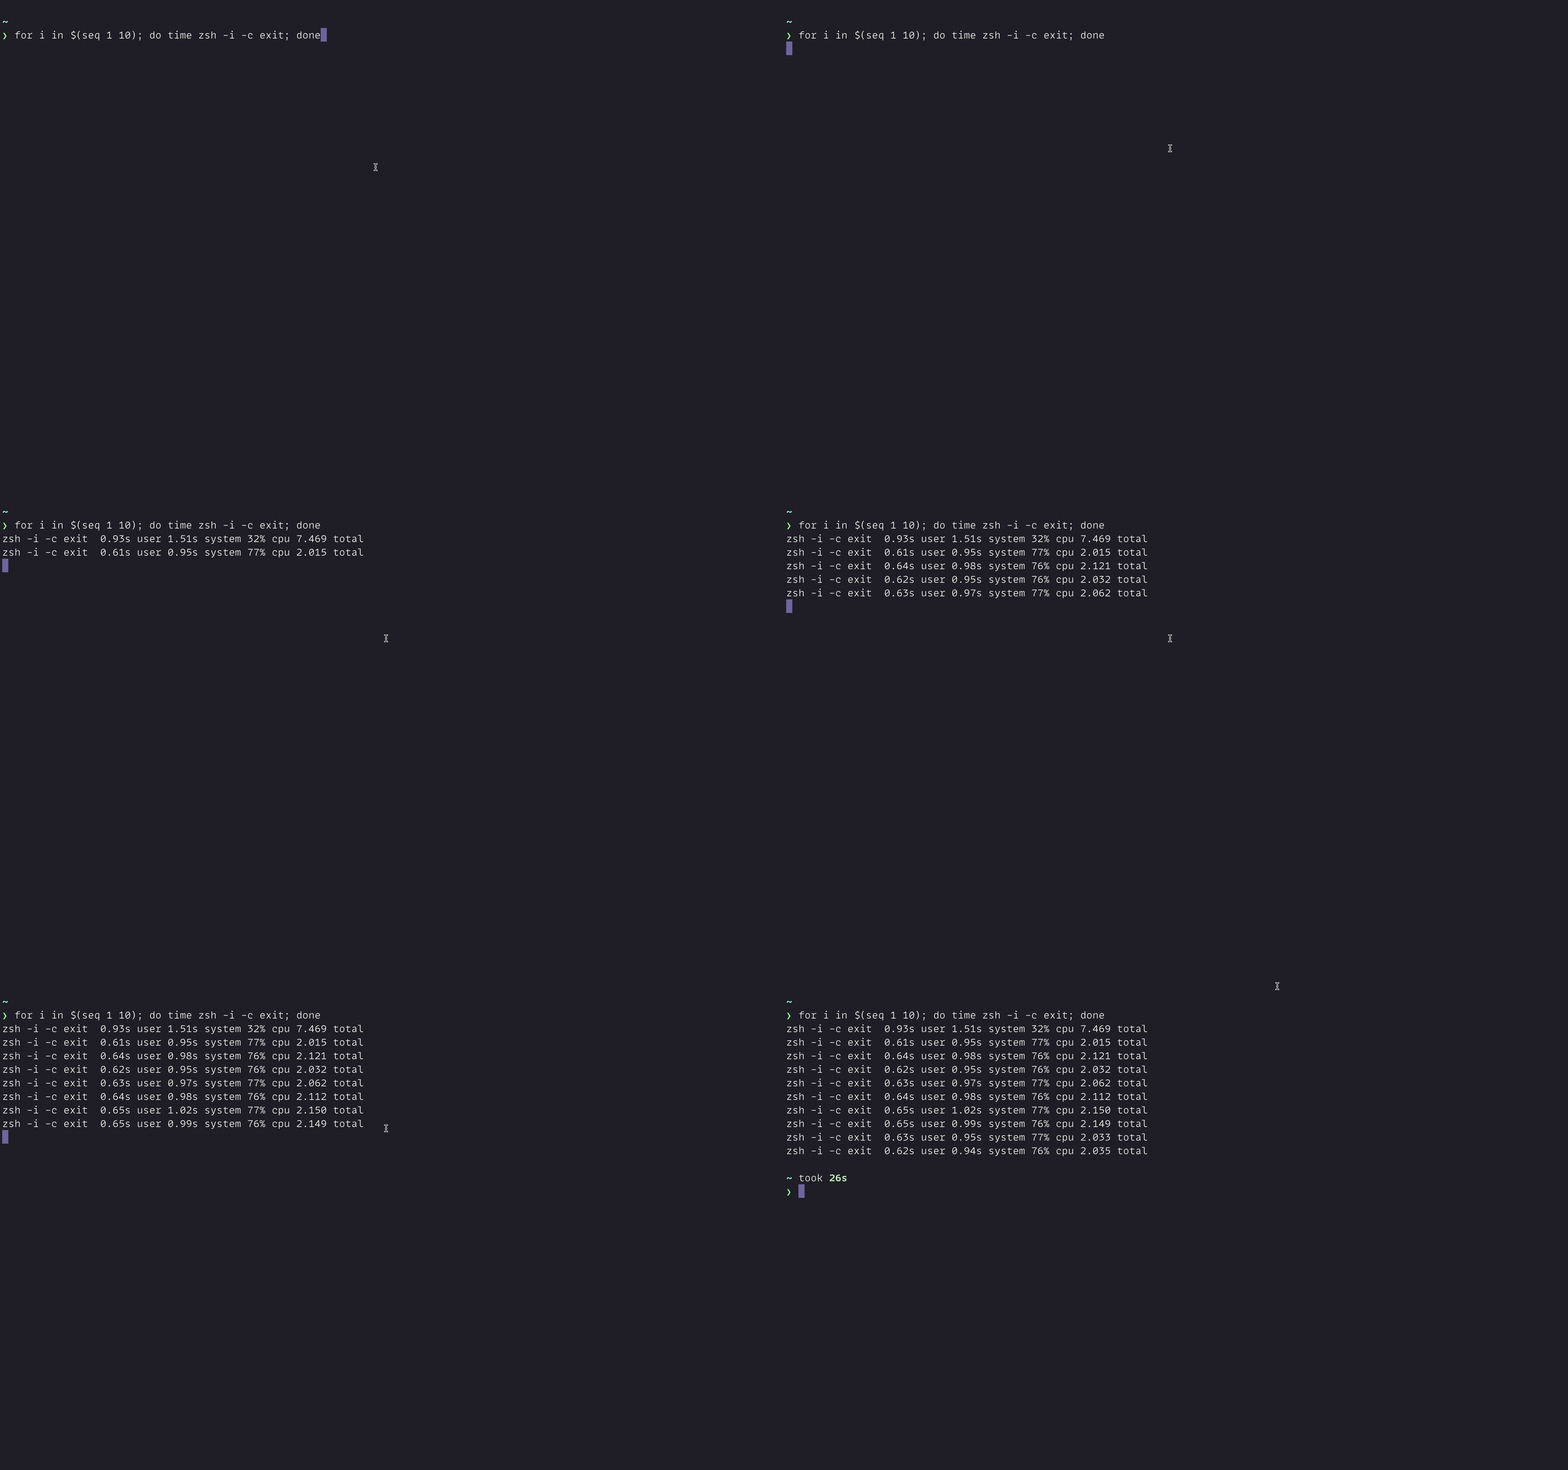
I’ll show you the current performance of my shell configuration. To do so, we can execute the following command to measure the time it takes to initiate a new session:
for i in $(seq 1 10); do time zsh -i -c exit; doneThe previous command will run ten times and measure the time it takes to open and close a new zsh shell.

Well, it’s not that great. It took almost 1s each time to do its work. It seems it’s the moment to leave it behind and change it for something else.
What to use then? and why?
The new tool I’m talking about is Zim. And some reasons to change are:
- Bundles a plugin manager
- It has useful modules
- Wide variety of themes (I’m using the
minimalone) - It doesn’t compromise speed
So, let’s see how to migrate to it.
Saying bye to oh-my-zsh 😢
First, we need to remove oh-my-zsh from our system, and as they mention here, you can do it by running the following command from your terminal:
uninstall_oh_my_zshWow, after several years, running this command hurts a little bit.
Installing Zim
The next thing we’re going to do is to install zim by running the following command from your terminal:
curl -fsSL https://raw.githubusercontent.com/zimfw/install/master/install.zsh | zshLazy load nvm
If you do some work with the web, you will need Node.js for your daily routine. I use nvm to change from version to version easily. This tool can be slow, so I decided to lazy load it (which means I delay its execution until I need to).
To do so, I added this snippet of code to my .zshrc file:
export NVM_DIR="$HOME/.nvm"
[ -s "$NVM_DIR/bash_completion" ] && \. "$NVM_DIR/bash_completion" # This loads nvm bash_completion

nvm() {
  unset -f nvm node npm
  [ -s "$NVM_DIR/nvm.sh" ] && \. "$NVM_DIR/nvm.sh" # This loads nvm
  nvm "$@"
}

node() {
  unset -f nvm node npm
  export NVM_DIR=~/.nvm
  [ -s "$NVM_DIR/nvm.sh" ] && . "$NVM_DIR/nvm.sh" # This loads nvm
  node "$@"
}

npm() {
  unset -f nvm node npm
  export NVM_DIR=~/.nvm
  [ -s "$NVM_DIR/nvm.sh" ] && . "$NVM_DIR/nvm.sh" # This loads nvm
  npm "$@"
}Note: You only need to run
nvmonce from your terminal, and then its commands will be available in your system.
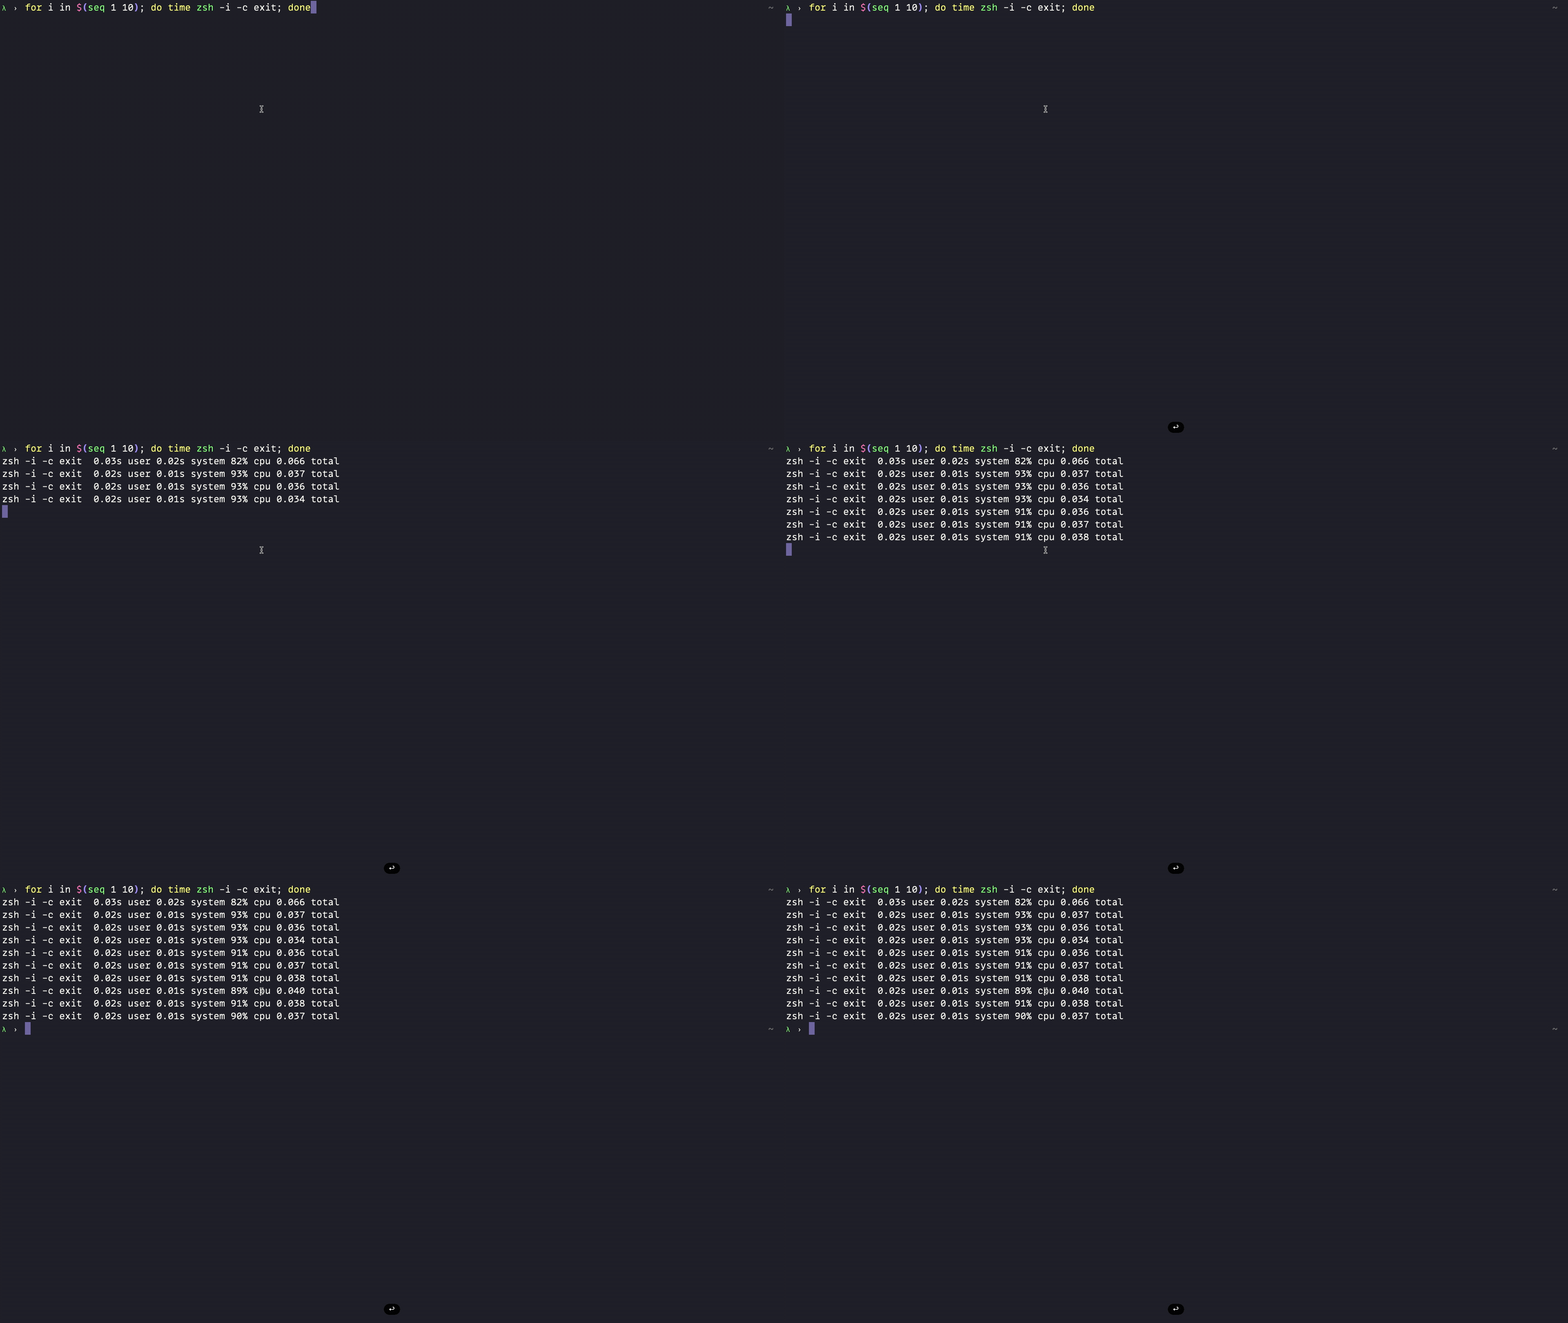
Let’s see how it performs now:

It’s a massive improvement compared to what we saw at the beginning!
Tip: You can change the
Zimdefault configuration by using the.zimrcfile located in your$HOMEdirectory.
Next steps
Until now, I’m super happy with the performance of Zim. I love its minimalist approach, its speed, and the built-in configuration it has from the moment you install it.
However, I still have work to do with my configuration. For example, I’m planning to migrate the following:
- Git snippets I use all the time:
gs,gp,glol, etc - Explore the plugins that Zim offers
- Update my
.zimrcfile to match my previous.zshrcconfiguration
Conclusion
Well, that’s it for now. I hope you learn something new today. And see you next time!